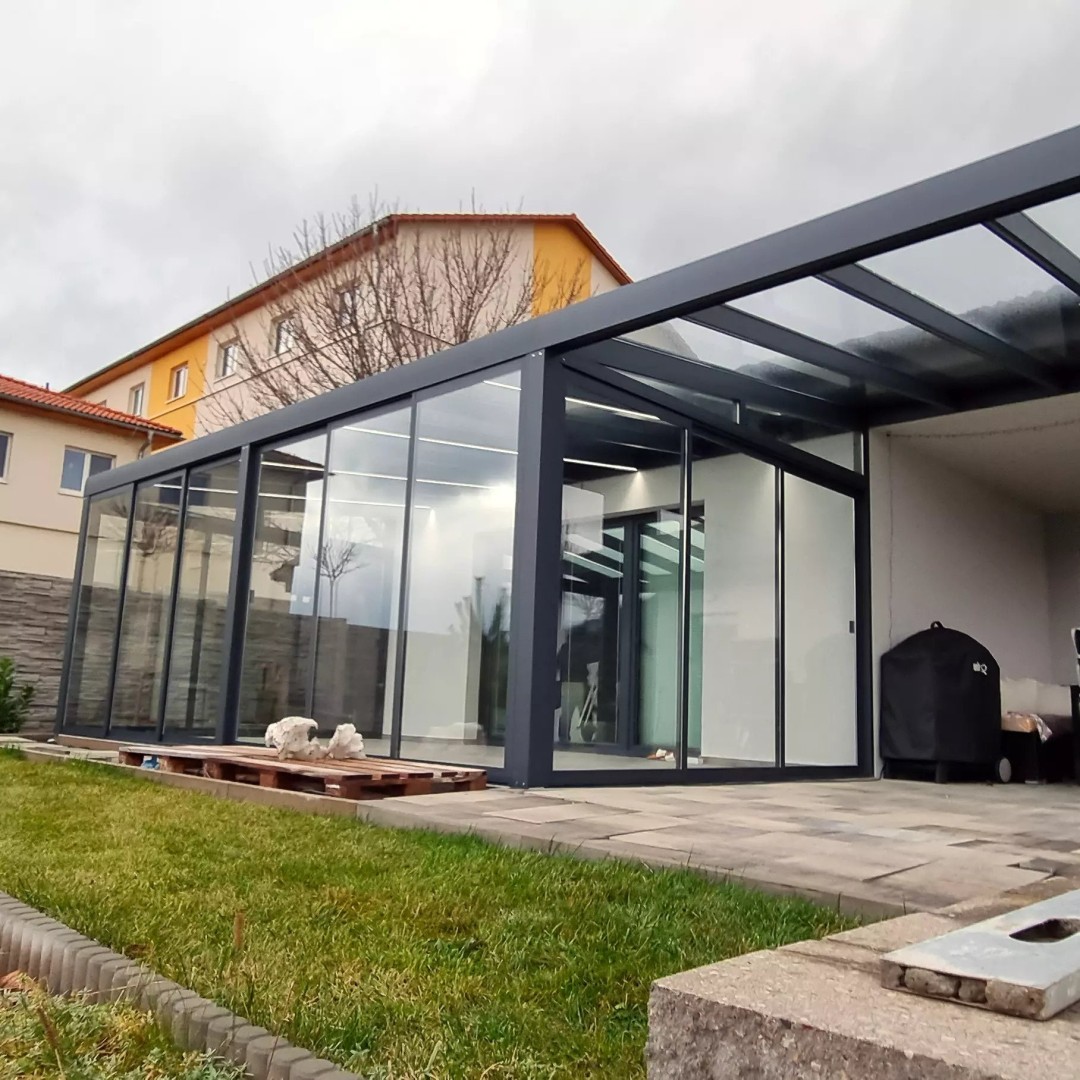
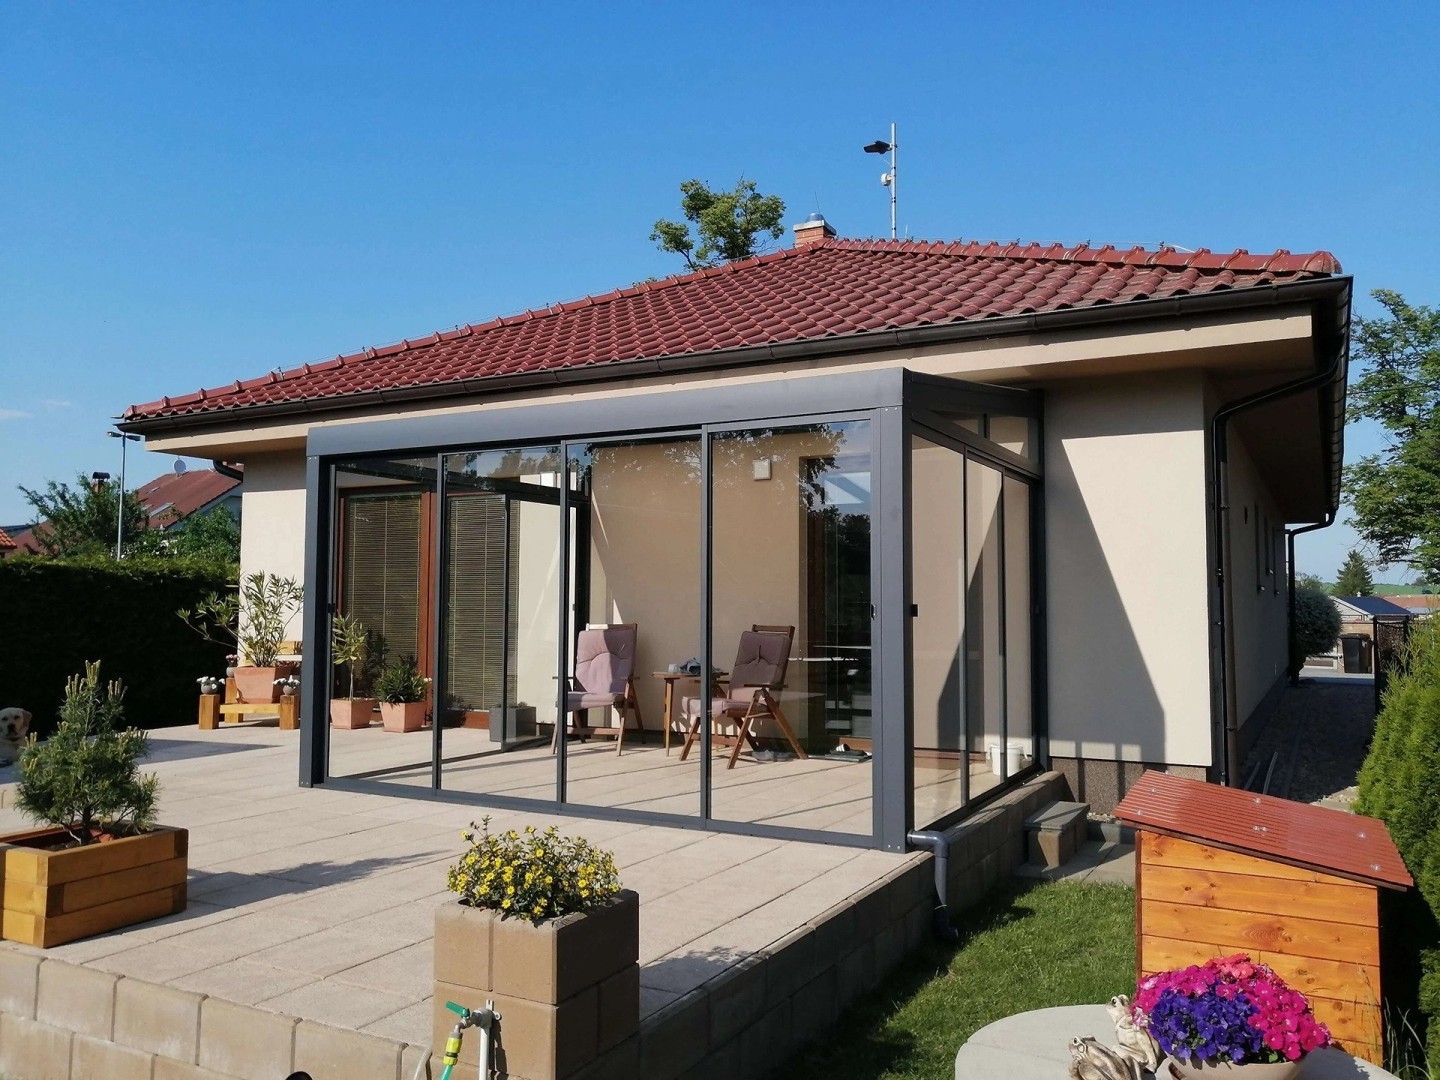
Building a pergola? Great idea! But be honest, would you know exactly what that entails if you ordered one today? No? Then let's take it step by step. Installing a pergola, especially a sturdy aluminum one from MontAl, is a combination of precision, strength, and a spirit level.
The whole process begins even before the actual installation. Customers simply design their pergola according to their own ideas in our online configurator and immediately receive an approximate price by email. This is followed by the project phase, during which we prepare an accurate price quote, usually within a week. Once approved, the design and surveying take place, usually within four weeks of ordering. The construction and glazing are carried out in two consecutive stages, each lasting approximately four to six weeks. When everything is ready, it's time for installation.
1. Preparing the foundation
To prevent the pergola from ending up like a drunk wanderer on the way home from the pub, the foundation must be level. The installers will first thoroughly check the base, whether you have paving, concrete footings, or foundation slabs. If everything is not tip-top, suitable anchoring will be prepared. And believe me, no one wants to see a pergola flying away at the first gust of wind.
2. We deliver the components
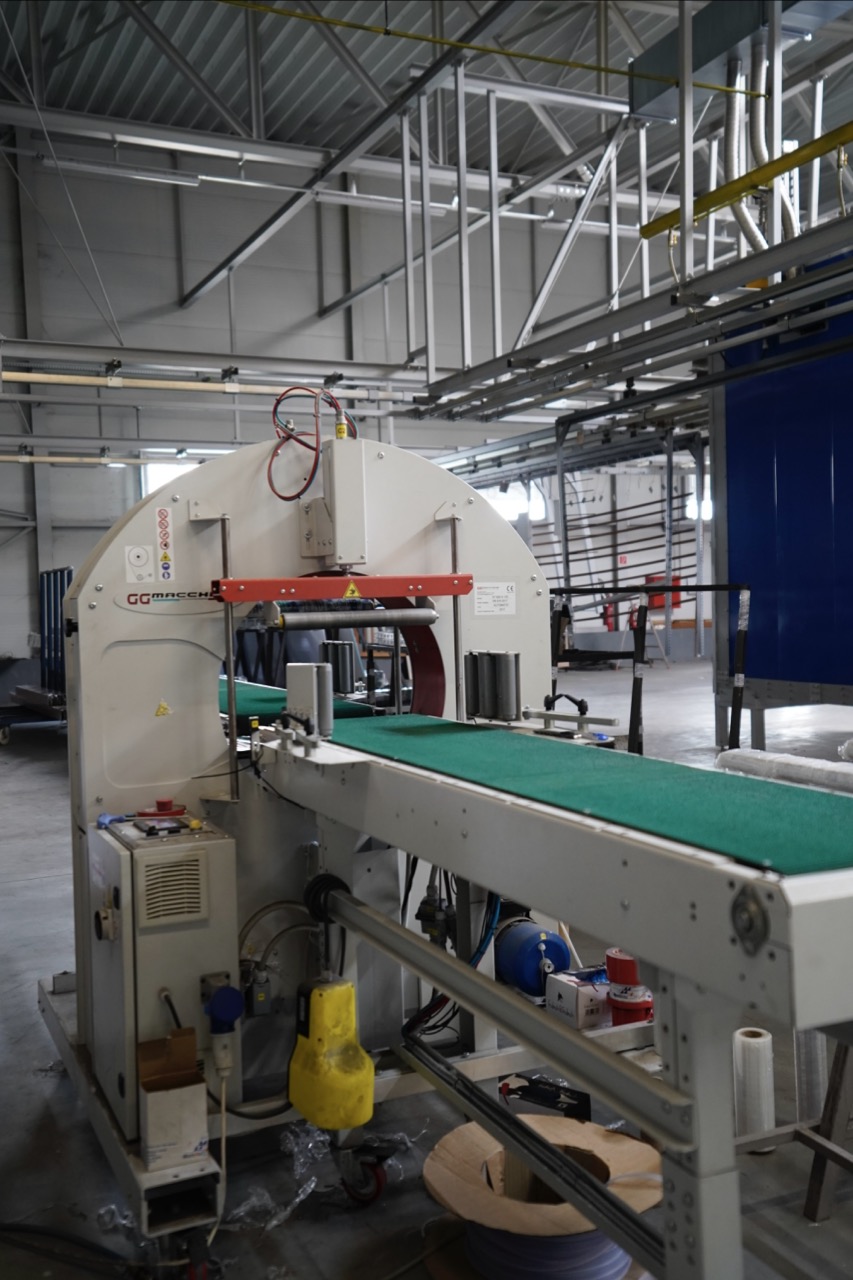
It all starts with the arrival of our installation team, who will arrive at the agreed time and bring a complete set of high-quality components ready for immediate assembly, from posts and beams to anchoring plates, fasteners, and roof parts depending on the type of pergola. The team unloads everything, checks it, assembles it professionally, and usually hands over the finished pergola within one day, leaving no mess behind.
3. Setting the posts
This is followed by the vertical setting of the posts into the anchor plates. These are carefully aligned and anchored so that none of them stick out like a rebel in a school classroom. The right height, the right angle. The aluminum construction from the Massive series already shows its robustness here.

4. Connecting the horizontals
The beams are connected between the columns. Everything must fit to the millimeter: screws, joints, brackets. At this stage, the pergola begins to take shape. It's like building with LEGO, only with a weight that you no longer feel in your hands, but also in your thighs. If you have chosen additional shading, brackets for side screens or screen blinds are also prepared.
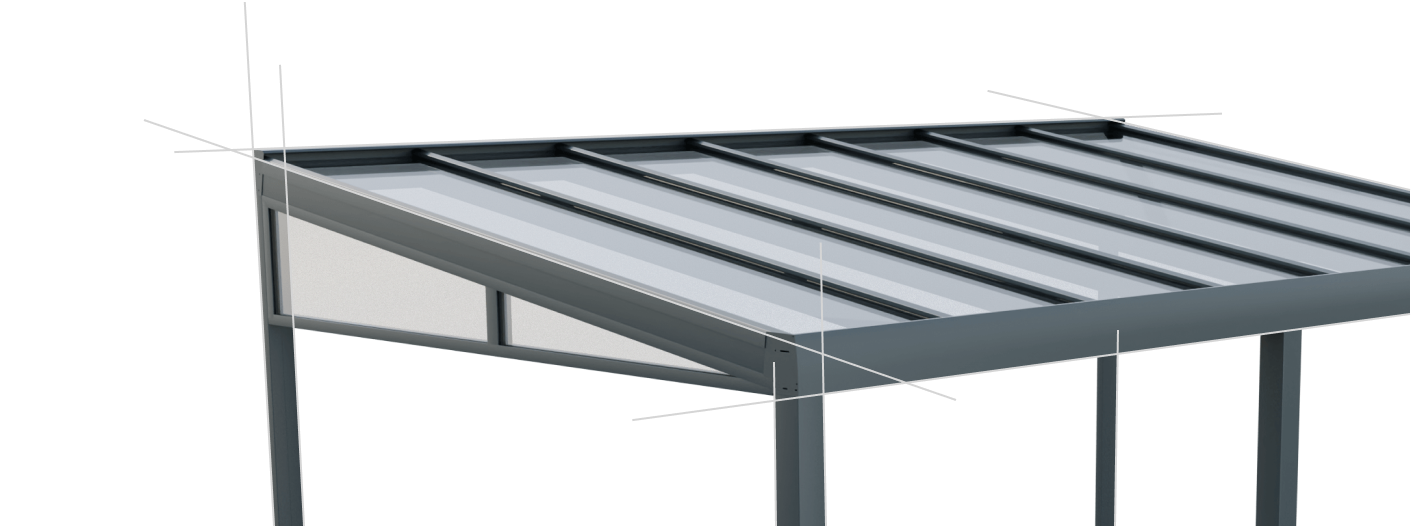
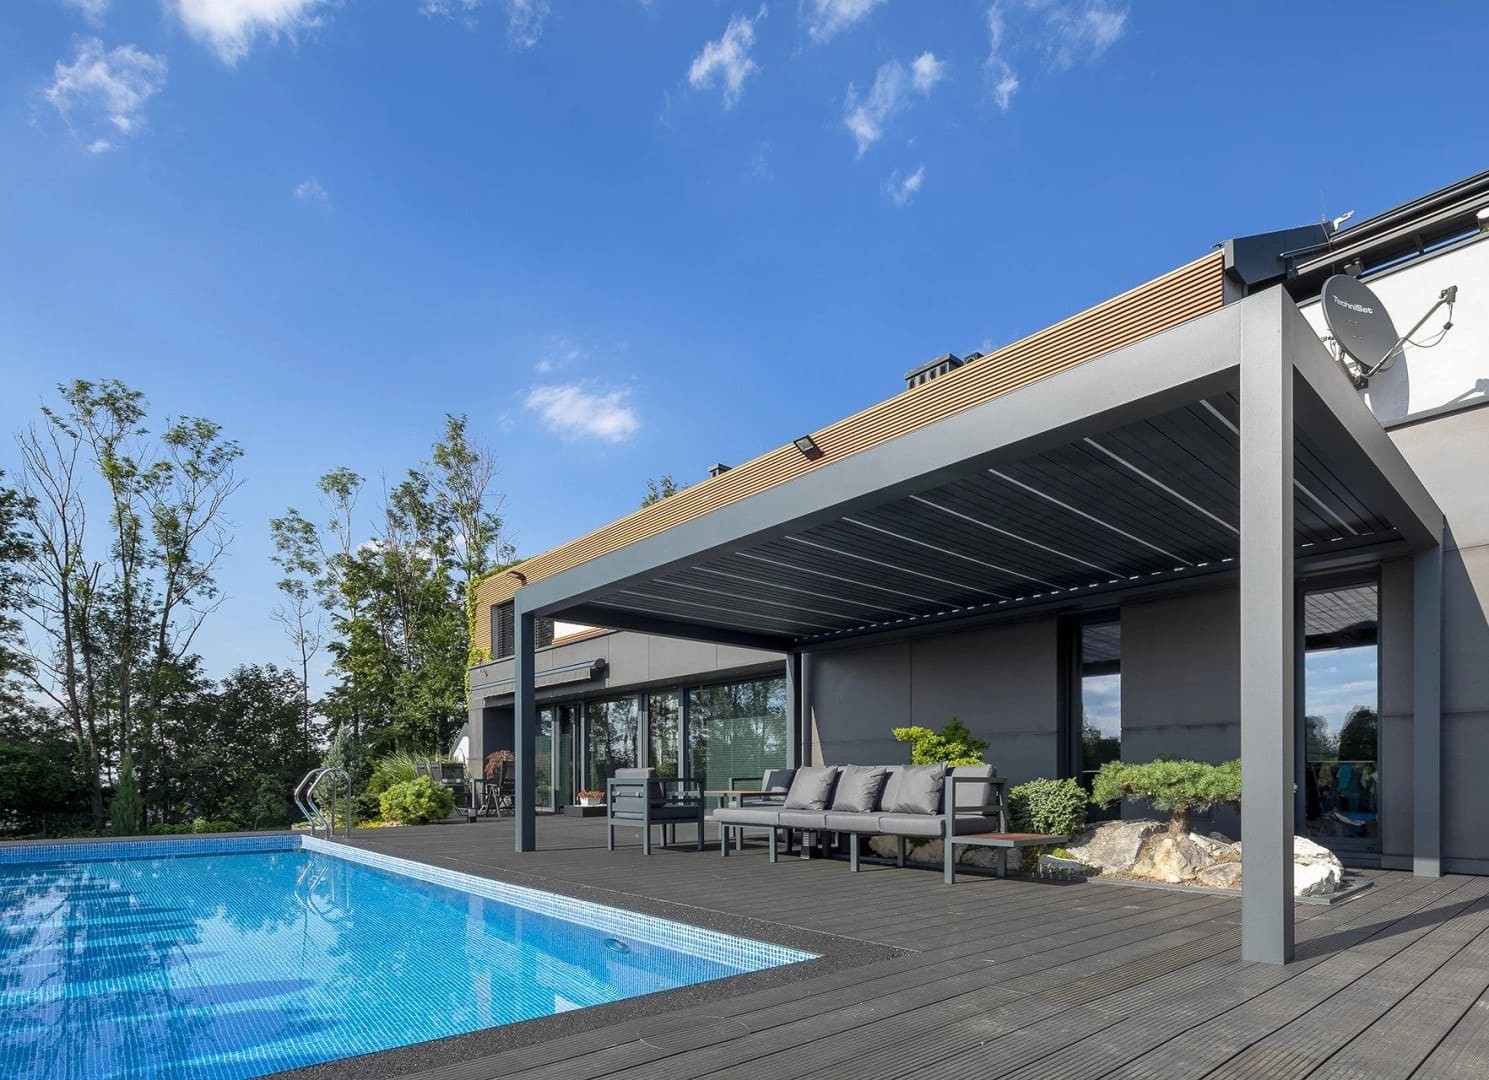
5. Roof installation
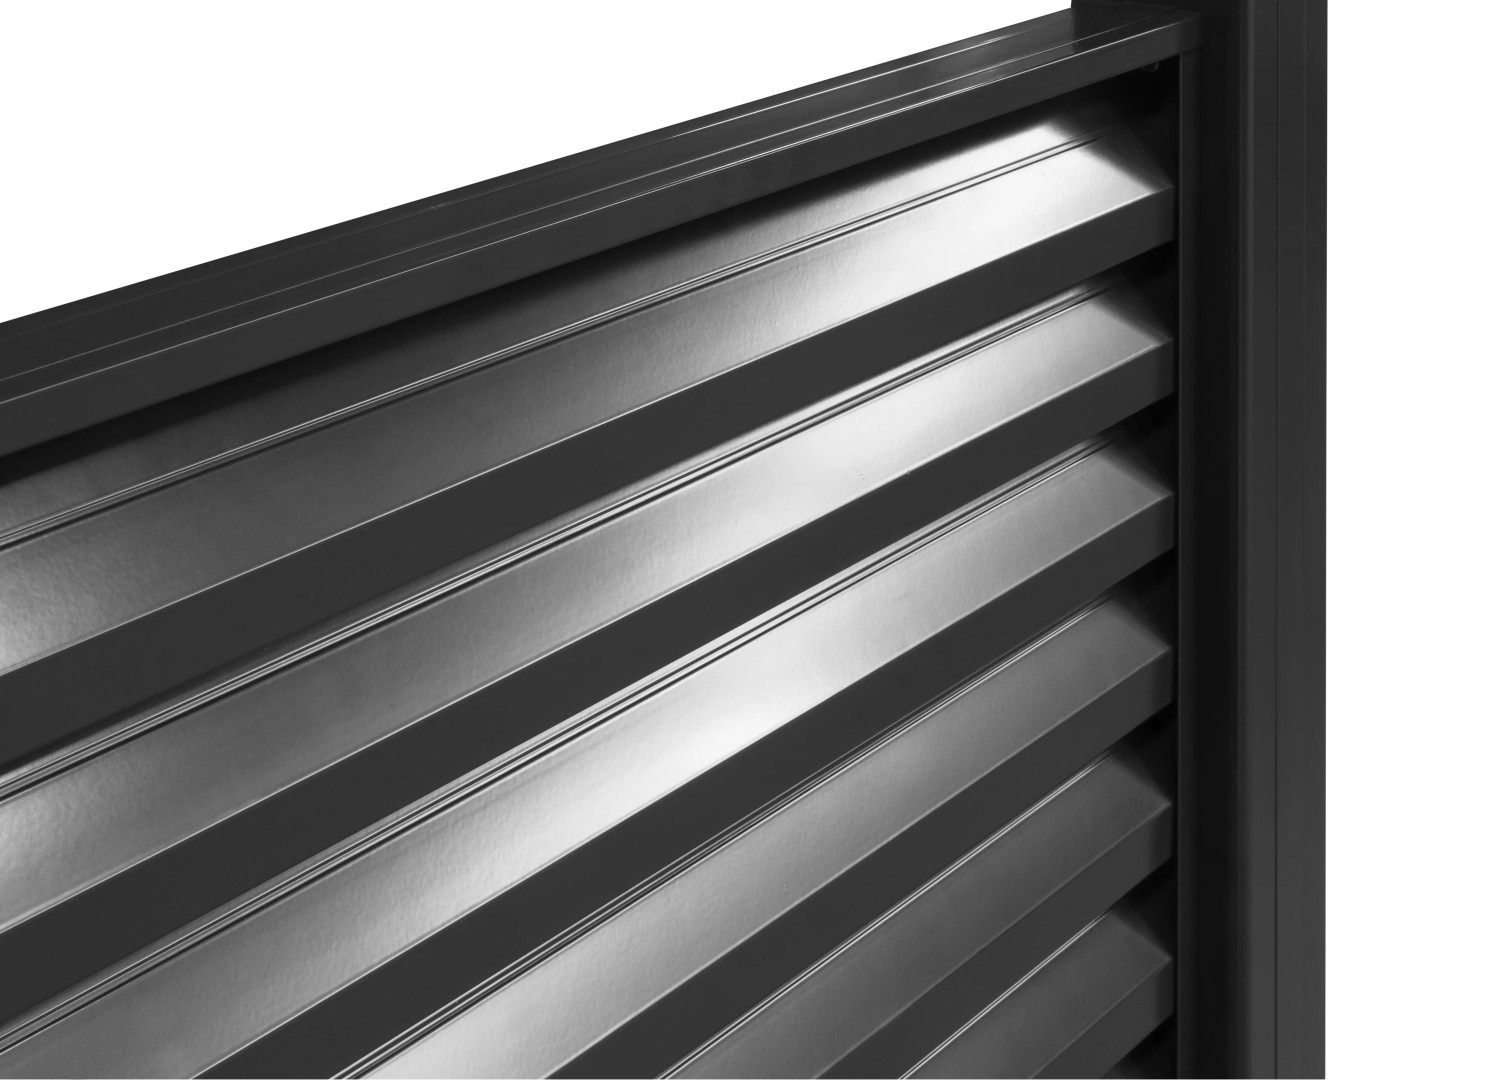
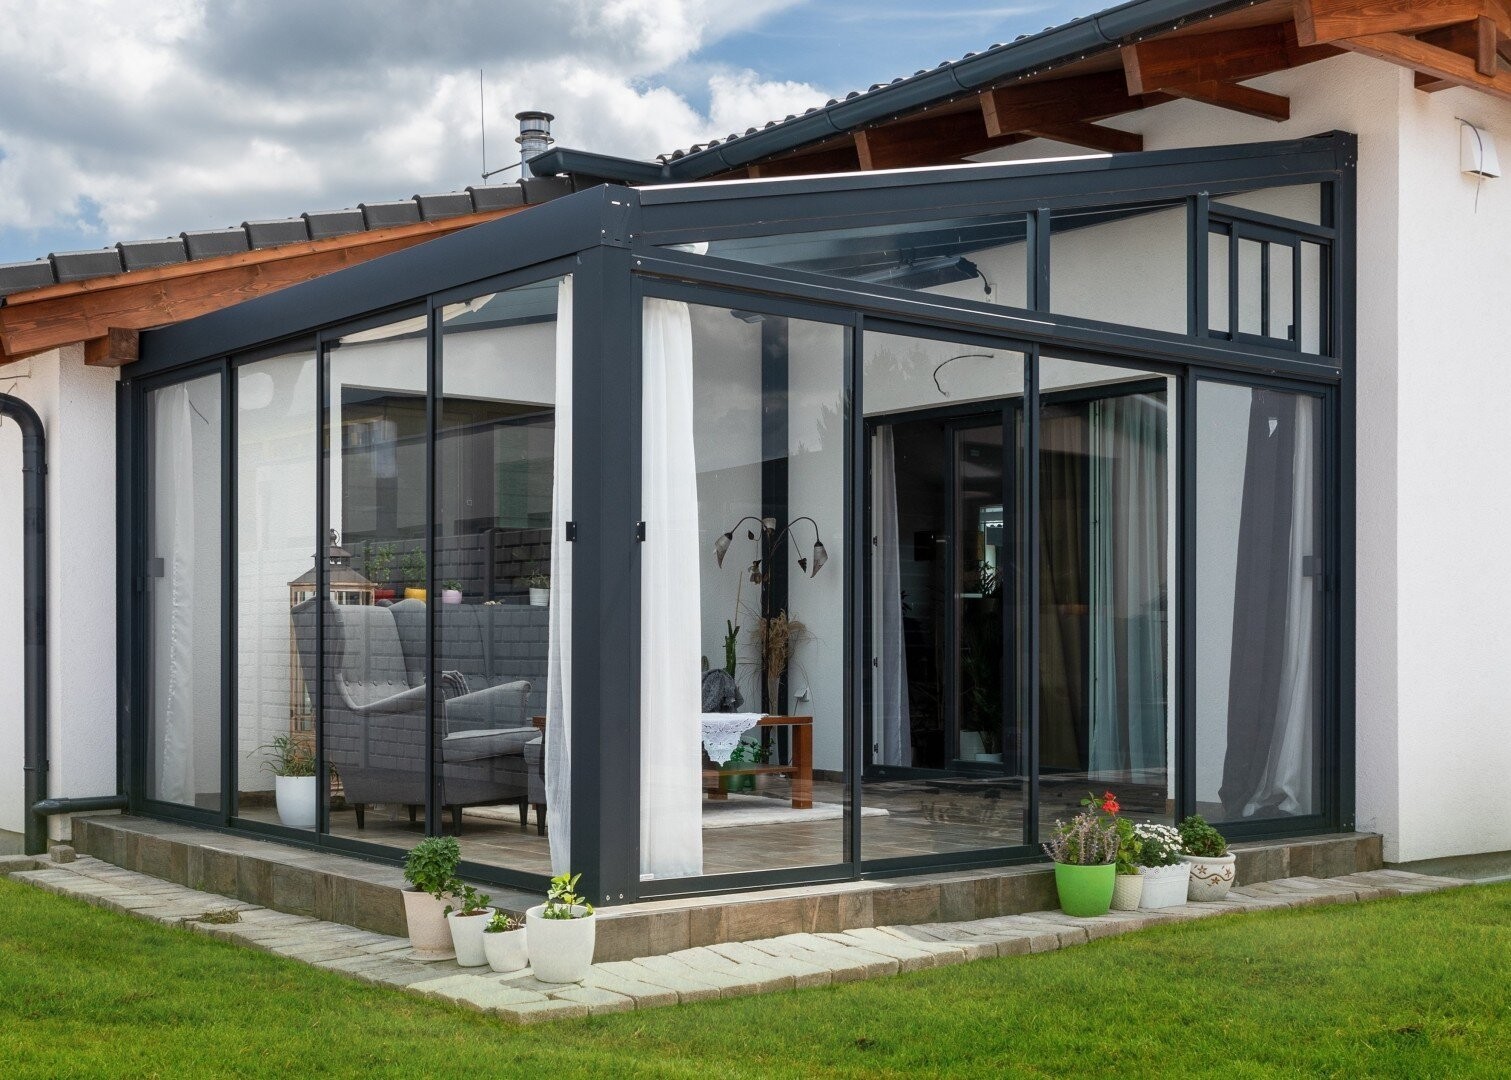
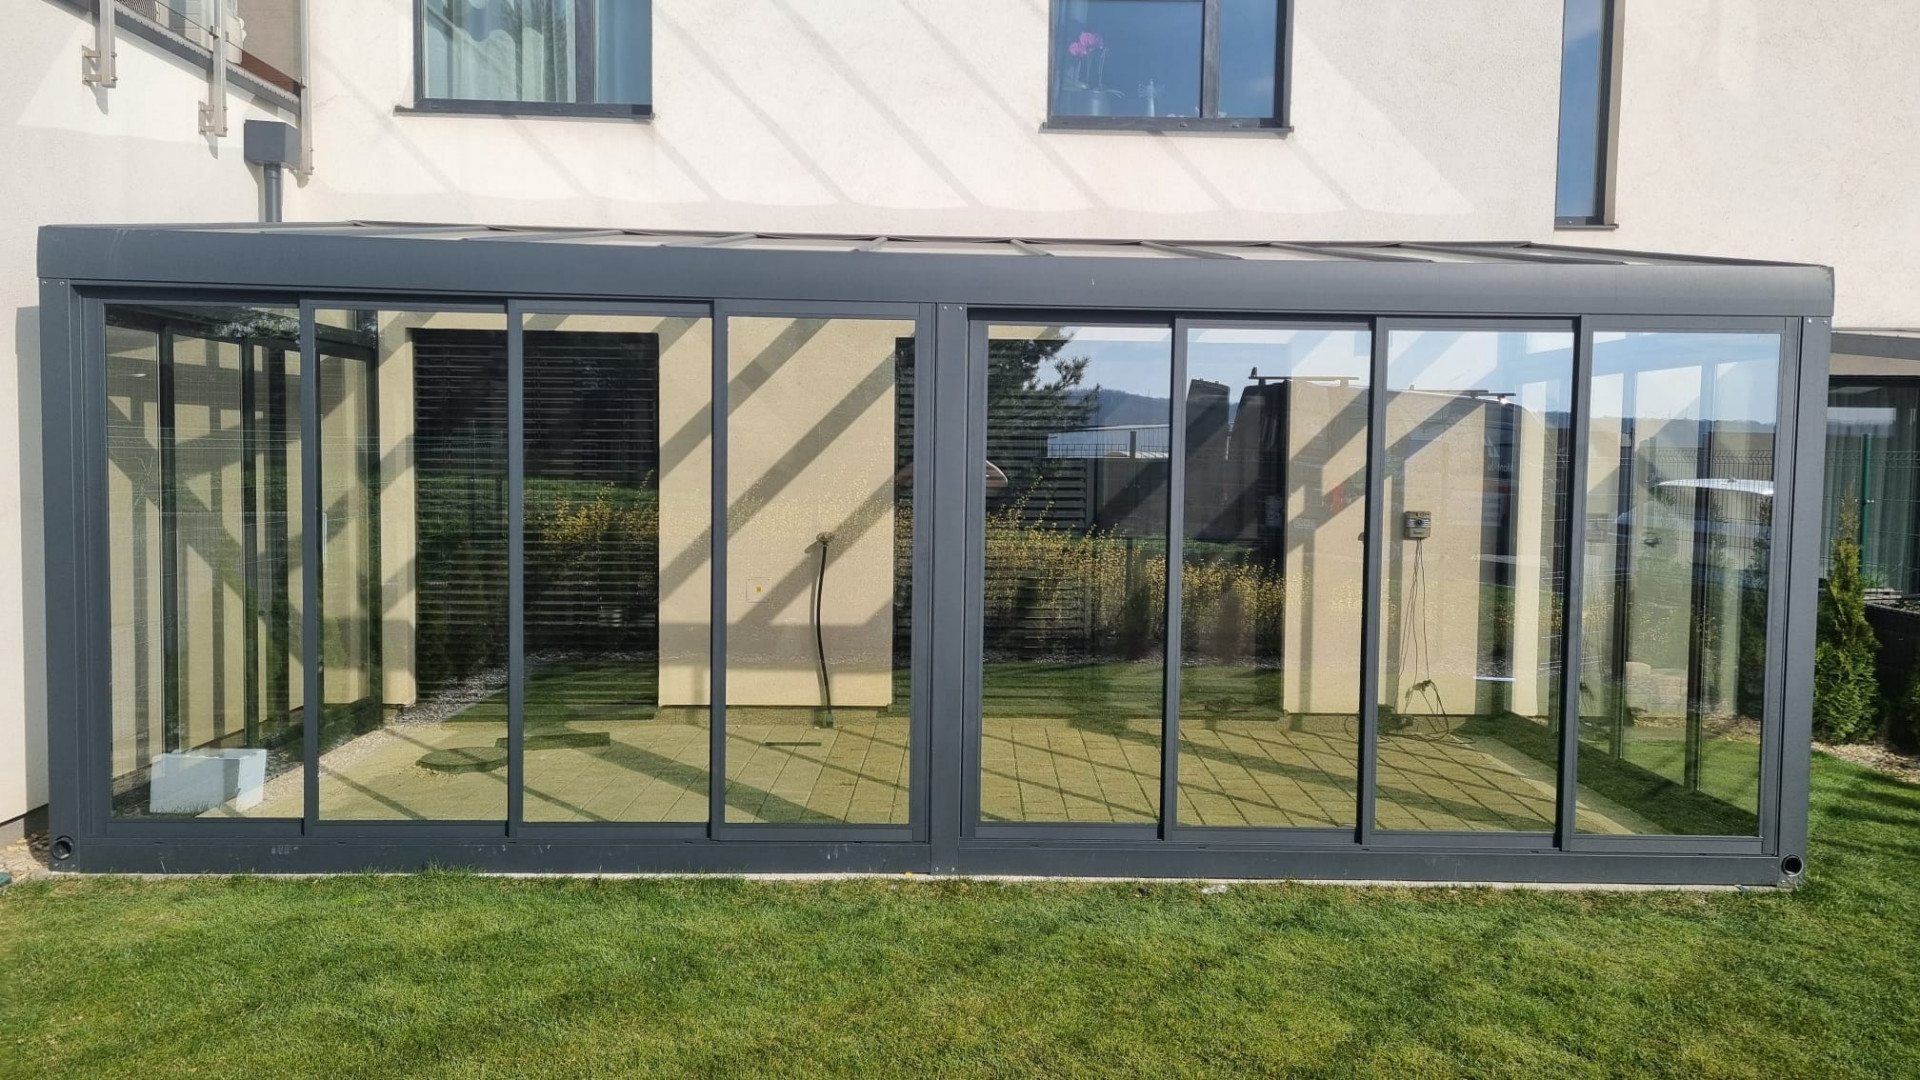
Here comes the crowning glory of the entire structure – the roof. If you have rotating slats (as in bioclimatic models), the installers precisely fit each one. Each slat has its own direction, slope, and place. For pergolas with a fixed roof, a filling (often polycarbonate) is installed, which is inserted into the profiles. And if you are also planning glazing, the structure is adapted so that everything fits together.
6. Final tightening
At this stage, each joint is tightened, and the evenness, stability, and functionality are checked once again. If the pergola has LED lighting or automatic control, sensors are connected and electricity is supplied. The result? An aesthetically balanced, functionally flawless, and stable structure.
7. Handover
The installers will show you how to operate and maintain the pergola and answer any questions you may have. And you can sit back and relax under your new pergola. Summary without abbreviations:
- Design and price quote – 1 week.
- Design and surveying – up to 4 weeks from order placement
- Manufacture of structure and glass, stage 1 – 4 to 6 weeks.
- Manufacture of structure and glass, stage 2 – 4 to 6 weeks.
- On-site installation – usually 1 day
- Final details, shading, maintenance – 1 day
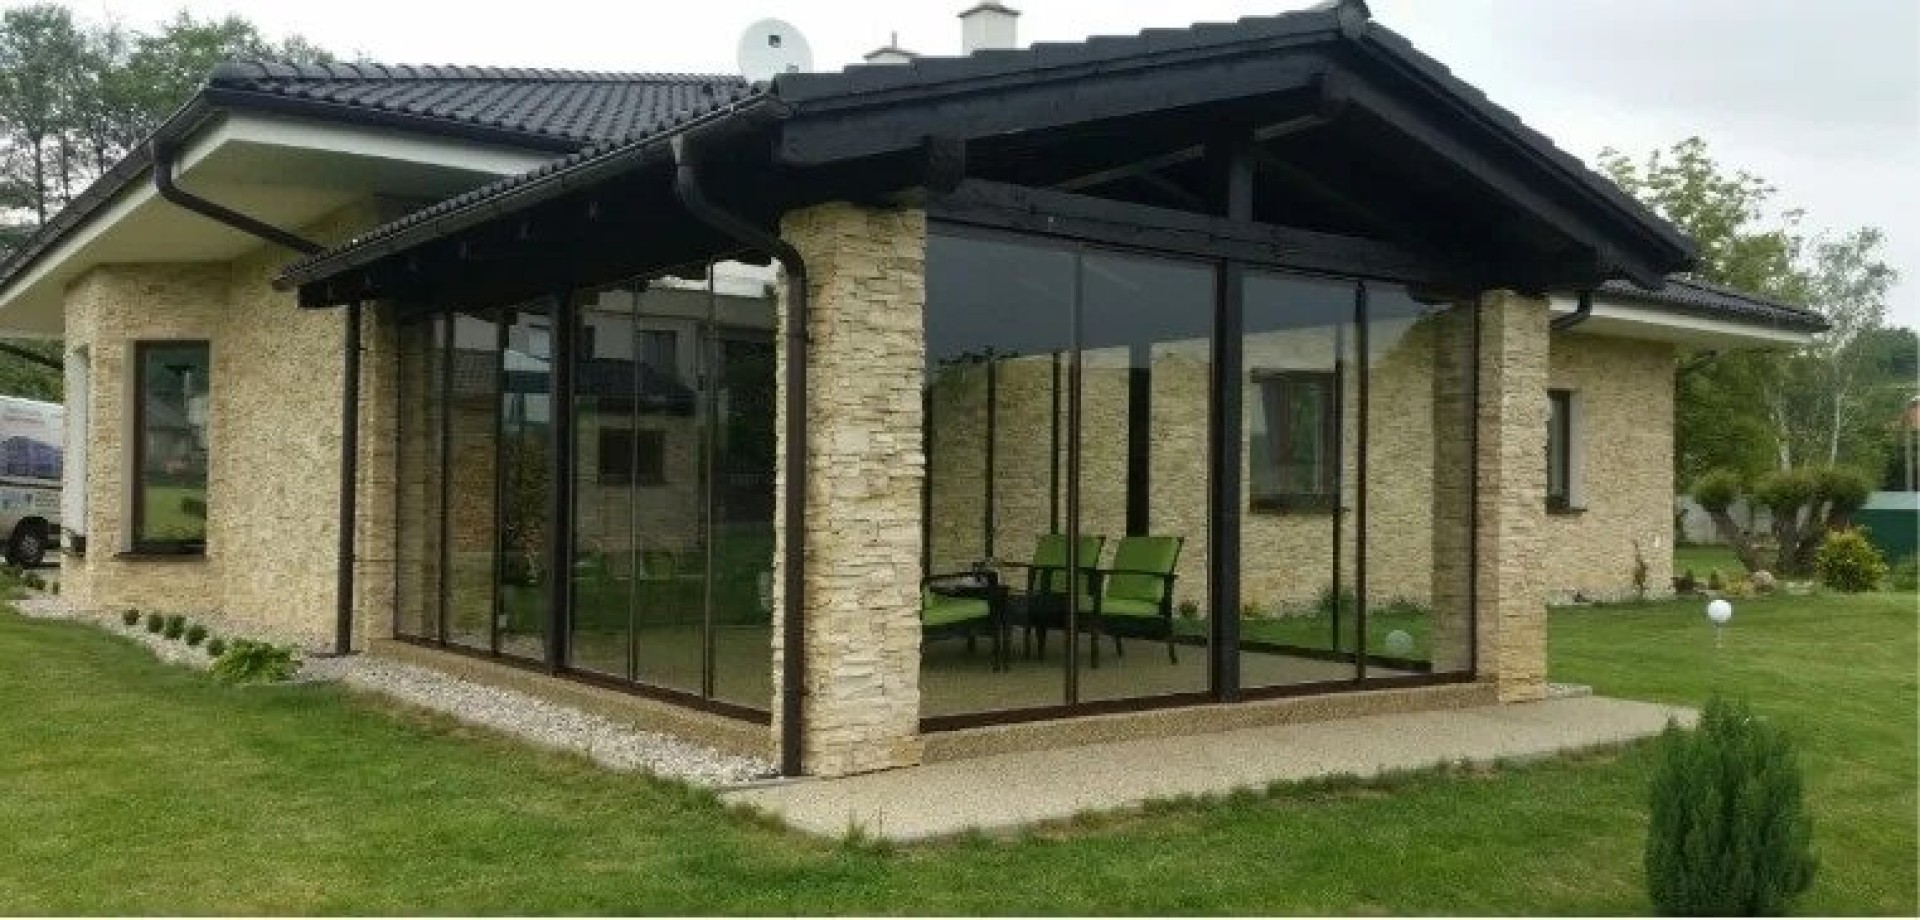
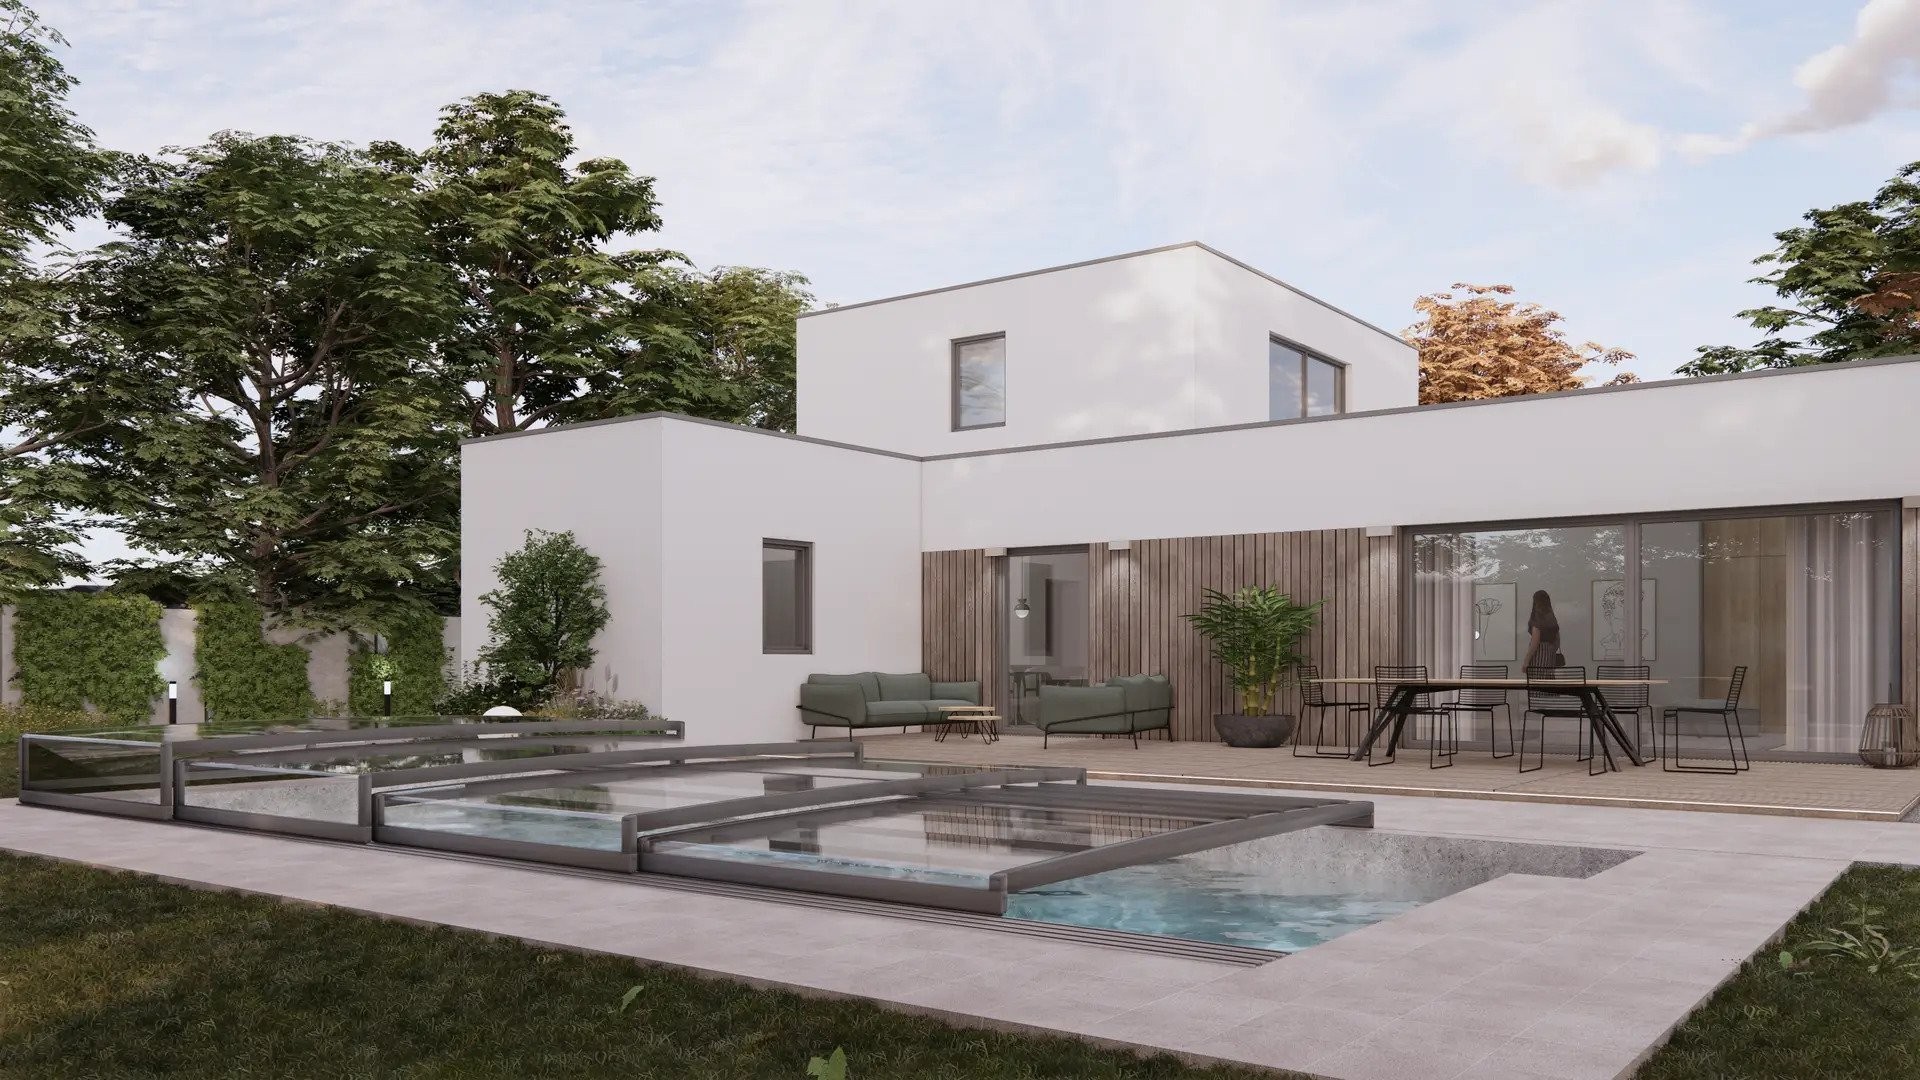
Installing a pergola from MontAlu is not just about putting parts together. It is a well-thought-out technical process that will transform your terrace into a place where you will enjoy spending time. Each element is designed to fit perfectly into the whole, combining practicality and aesthetics. That's why MontAl pergolas hold their shape, withstand the weather, and look like a high-quality, professional solution.
If you're still dreaming, try designing it using the configurator and see what's possible.